When I planted my winter-sowing pots on February 28th, it was the latest I have ever started winter-sowing. Thanks to a couple of really good winter storms, it looks like my seeds got the “winter” they needed and are beginning to germinate.
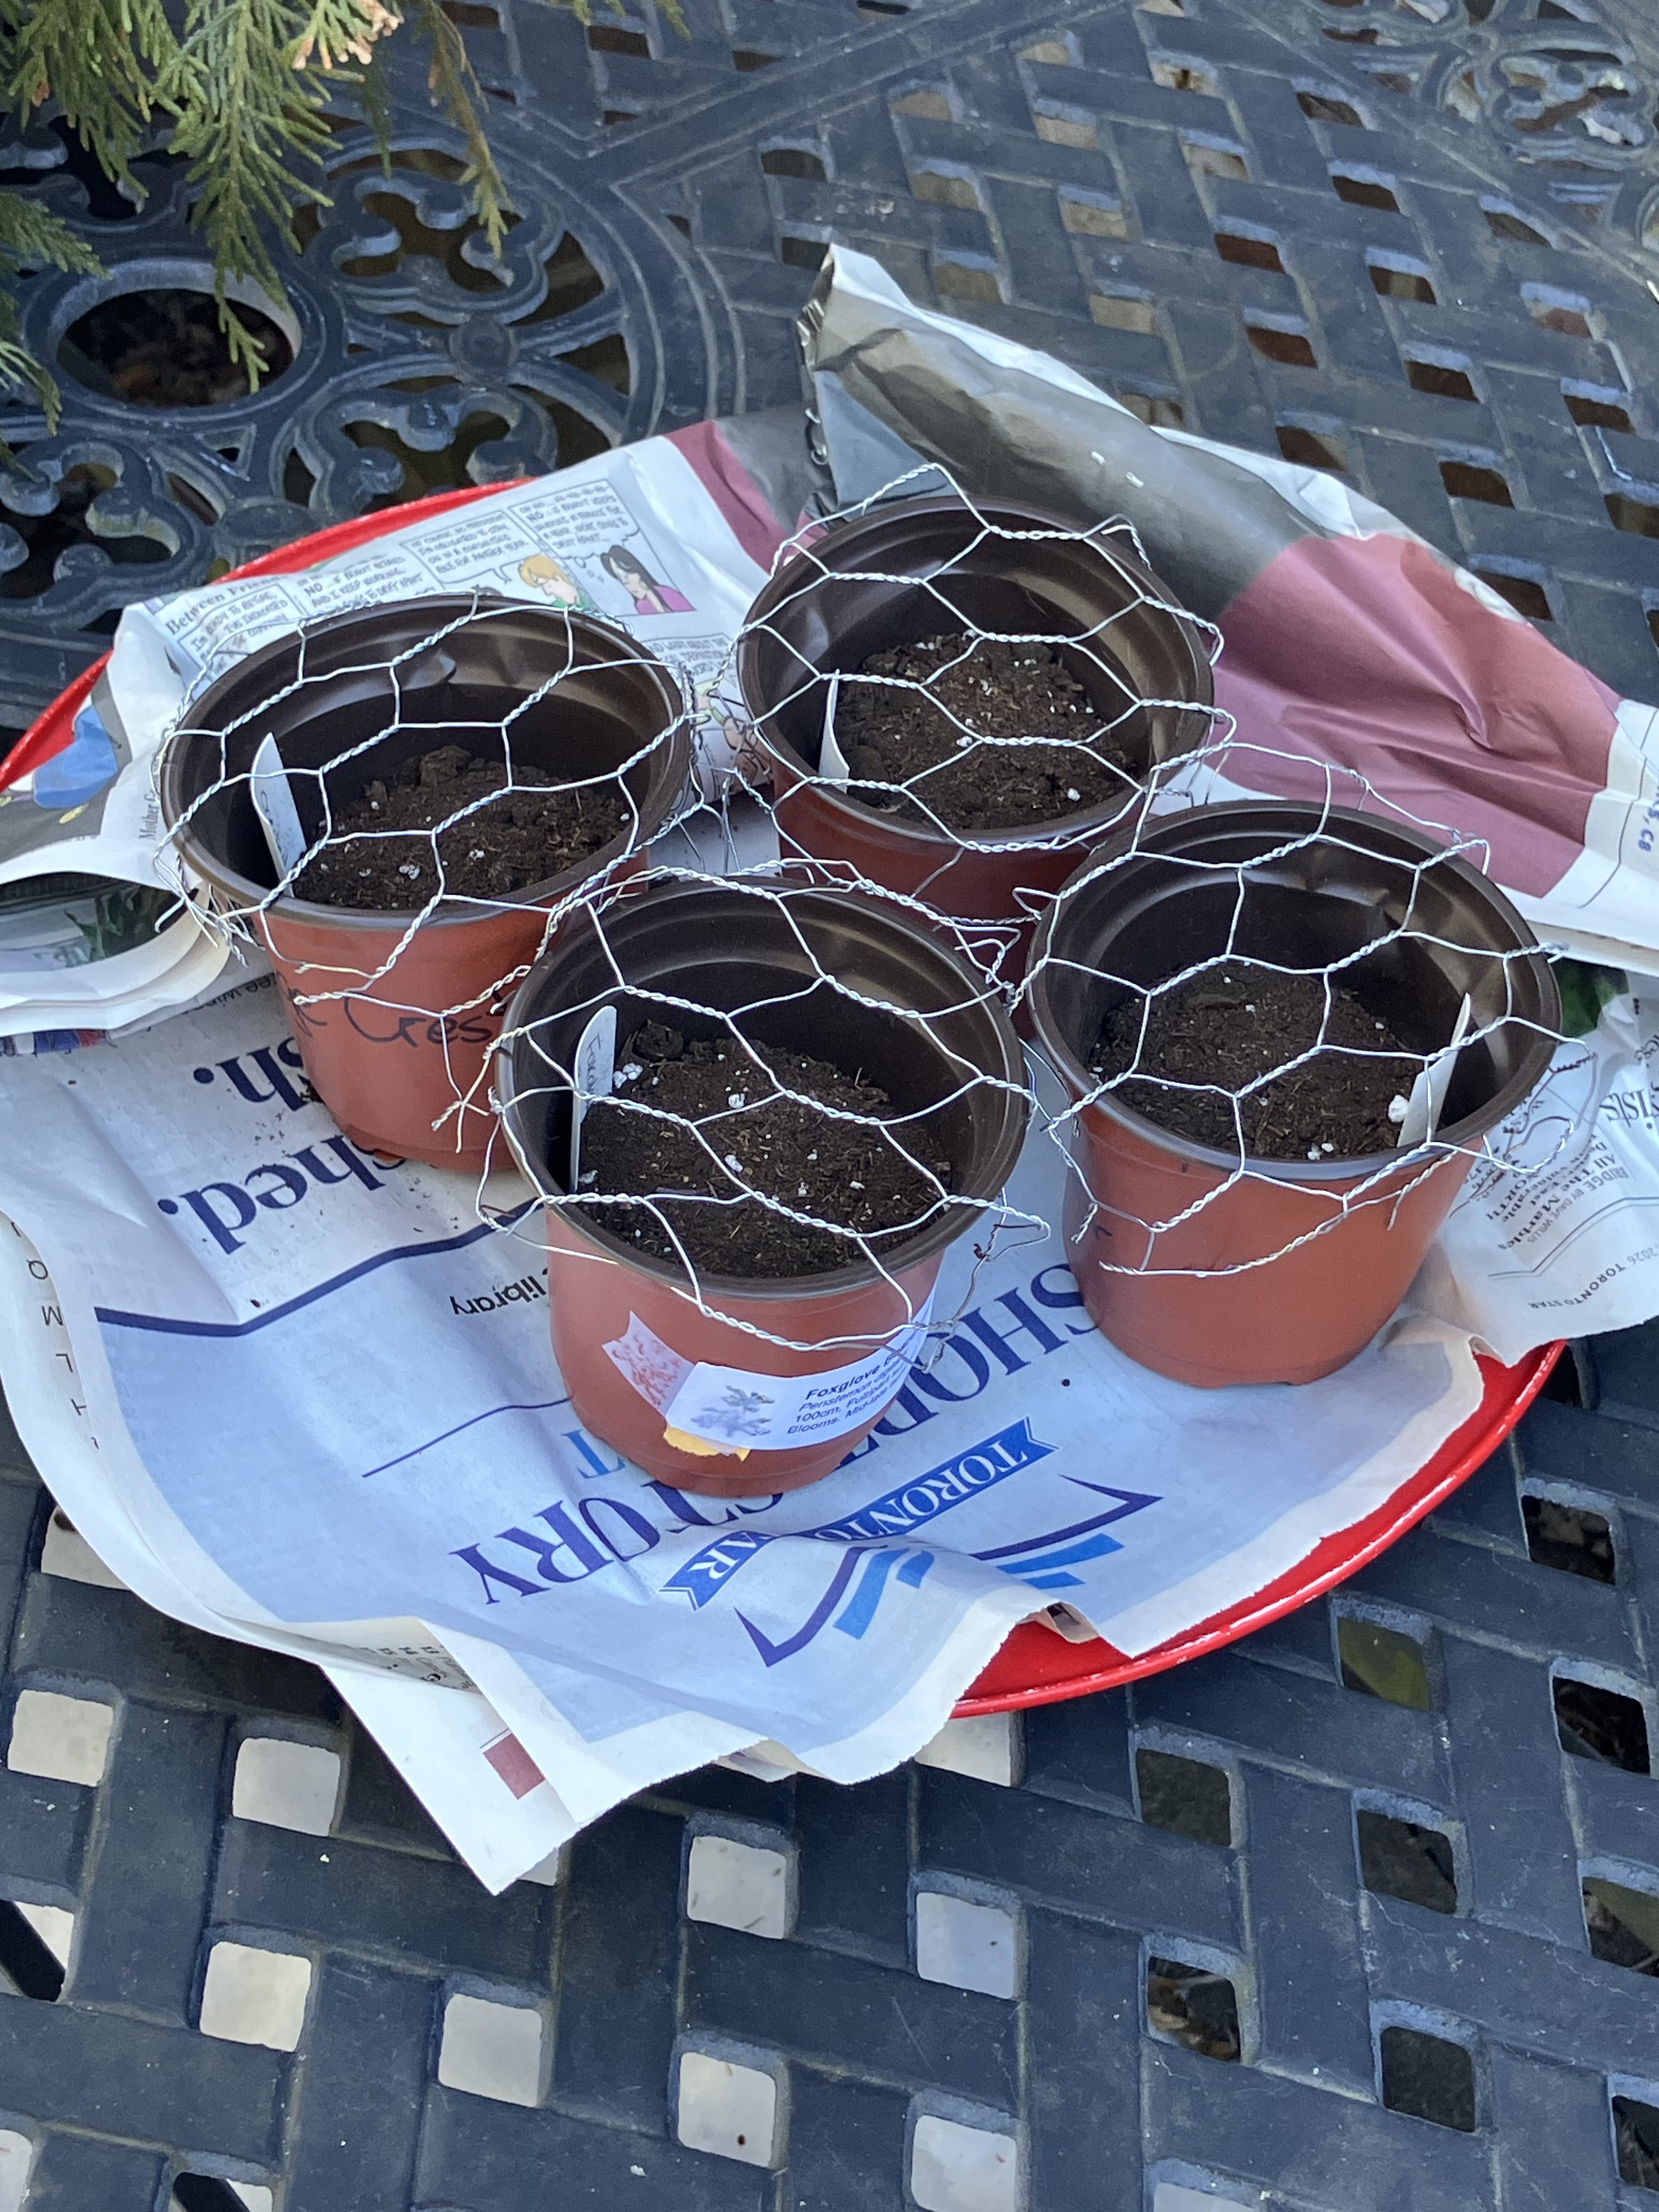
I noticed the first tiny bits of green on April 14th, almost 6 weeks after I had put my pots outside. As I’ve mentioned before, I have a stand which I cover with plastic fencing, so I don’t have chicken wire on the individual pots. Let’s play a game of ” Can you spot the seedling?”


That very same weekend, I had decided to set up my pop-up greenhouse and give the plants that were over-wintering in my veggie beds a bit of extra warmth. You see, when I have plants left over in the fall, I tuck them into one of my raised beds and cover them with leaves. This way they go through winter in a sheltered setting. Putting them in a greenhouse gives them a couple extra degrees of warmth and wakes them up to grow.


So I decided to move the germinated pots along with trays I had been growing in my basement to the greenhouse.

Let’ just say that things were quite tight.

Today I got a bit of time to move things around and it’s looking much better. I was surprised to see the difference a week can make! Take a look for yourself.


So in addition to the seedlings I brought in 9 days ago, today I spotted another 12 pots that had germinated. Here’s another game of “spot the seedling”.


I’m putting all of these pictures up for you so you can see that seedlings look so different for each variety. Also germination rates and times vary. If your seeds have not germinated, take note of the day you started winter-sowing and expect the first traces 6 weeks after that date. In the meantime don’t let the pots to dry out. Contact me if you have any questions.
So you see bits of green…. now what?
It’s important to remember that your seeds need constant moisture to germinate. Don’t let them dry out. I use a hose to spray water on my plant stand daily.
Once you see that first spot of green, try to create a bit of warmth to accelerate growth. This can mean bringing the pot inside, putting a dish underneath it, and keeping it in a sunny location. In the past, I have transformed my entire stand into a greenhouse by covering it with plastic. Another option may be using a plastic Bell, available at Dollarama, and placing it over your pot to create its own personal greenhouse.


Whichever option you use, don’t forget to water! And sadly, you can’t just fill the saucer under the pot with water and walk away. That would be the quickest way to kill your plant through soggy soil.
In the next post, I will share pictures of seedlings from USS members, so send your pictures in.